How to partition a hard drive in Windows and macOS?
How to partition a hard drive in Windows and macOS?

How to partition a hard drive in Windows and macOS?
There is a great deal of information on how to partition a hard drive into partitions on the network, which may lead to the opinion that this is a completely trifling matter. But we must warn you: without knowing the intricacies, you risk losing important files. To avoid this, Offpricesoft.com invites its readers to read the detailed instructions and become savvy users in the field of knowledge about the design of physical drives.
But first, a few words about how the memory of virtual volumes is filled and why it should be divided into separate parts. The drive stores incoming information in cells, and the choice of free space is carried out gradually and systematically. This means that everything is written into the first available cell, the next free one is selected after it, and so on until it is completely filled.
If such a drive goes through the Windows reinstallation process, which involves formatting, all files will be deleted. Of course, you can avoid this by migrating your data first. But with the amount of memory that the average user operates today, the process will take many hours. It is more expedient to distribute the amount of memory on disk space, and then when you reinstall the OS, you will not lose a single file.
How to partition a hard drive in Windows 10: step by step instructions
There are two main ways to break the memory of the drive: using standard Windows tools and by using special programs. Basically, third-party software is resorted to if the capabilities of the system do not allow this. Usually, any utility that is freely available is selected. But Windows 10 users are encouraged to use standard system apps - it's safe, fast, and efficient.Step 1.
Open the built-in Disk Management application
So, to get started, you need to launch the Disk Management system utility. In the 10th version of Windows, for this, follow the algorithm:
Right-click on the Start menu.
Select "Disk Management" (7th item in the drop-down list).
For older versions of Windows, follow these guidelines:
Click on "Start" with the right mouse button.
Select Control Panel.
Find the "System and Security" item, open it.
In the window that appears, look for "Administration".
Open the sub-item "Create and format a hard drive"
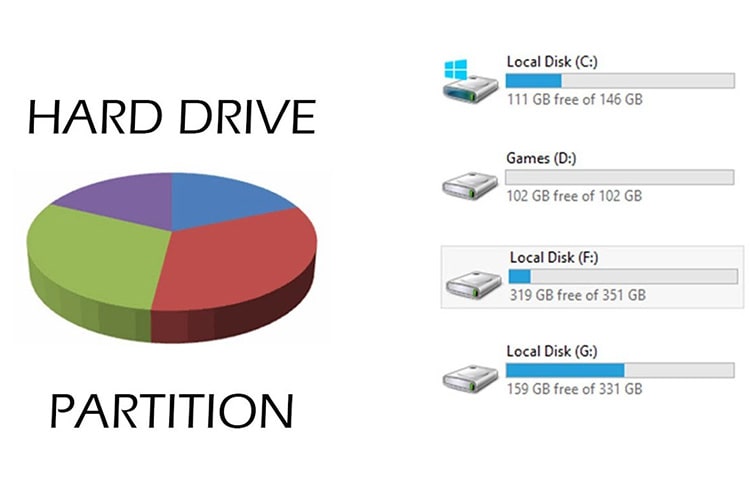
Local partitions into which the drive's memory is divided will be displayed here. There is an even faster way to enter the control menu: press the Win + R key combination. Paste the command diskmgmt.msc into the empty field and click OK.
Step 2:
Shrink the Partition and Make Space for the New Volume
Now you have to decide which of the volumes is best to divide. If it is the only one, select it and click on the name - everything is simple here. If there are more volumes, look at their volume. Choose the empty one and right-click on its name, then "Compress volume" and do not forget to specify the amount of memory that you plan to allocate.
Click on the confirmation of the command, and if everything was done correctly, you will see a black stripe labeled as unallocated space.
Step 3:
Create a new volume
At the final stage, the unallocated space must be converted into a full-fledged partition. To do this, it remains to perform a few simple operations:
Right-click on the unallocated area and select "Create Simple Volume".
Following the instructions of the creation wizard, assign a letter to the created partition.
Perform formatting (leave the default settings).
After clicking "Finish", the volume creation process is considered complete.
How to Partition C Drive on Windows 10 Using Third Party Programs
This method is suitable for many manipulations with the internal drive. Third-party software allows you to create new volumes and perform operations related to structuring memory. Many applications are convenient and effective, but for full-fledged work with them, you need to take into account some nuances, for example:Paragon Hard Disk Manager - requires registration and activation in your account on the site;
Aomel Partition Assistant - the free version is cut in functionality and does not support updates;
MiniTool Partition Wizard - interface in English.
To ensure safe and efficient PC operation, purchase only official software from trusted sources. And if you have any questions, please contact our online store, and we will help you choose a licensed program that will best suit your needs.
How to partition an external drive: instructions for MacOS
Before you begin, back up your files and uninstall apps you don't use to provide more storage space. Further actions must be performed using the preinstalled Disk Utilities program. To start it, the following steps are required:- Open the Finder menu.
- Select the "Programs" option.
- Select "Utilities".
After starting the application, a window will appear, on the left side of which there will be display existing volumes. You need to select one of them and click the "Split into sections" icon. In the window that opens, select the parameters for the future volume: size, name, format. Click on "Apply" and get free space for storing files.
Thus, the built-in utilities of any operating system that come with licensed software are safe and effective. But if you prefer to choose third-party applications for solving various problems, we do not recommend installing pirated versions. Contact Offpricesoft.com to buy genuine software online that will not create problems and vulnerabilities for your equipment.
